
Hyperflex Hydrophobic Grout
Instant prevention of widespread, low flow rate infiltration and ground stabilisation.
HyperFlex instantly stops water infiltration, with a pre-catalysed closed cell hydrophobic grout that does not shrink.
Compared to the more aggressive SealGuard II product, HyperFlex is better suited to more widespread lower flow rate infiltration.
HyperFlex can be used on any void which needs to be filled, down to the finest of cracks.
- Ideal for tunnels, manholes, ground stabilisation, car parks, bunds etc
- Quick and simple to apply
- Pre-catalysed – no mixing and no guesswork required
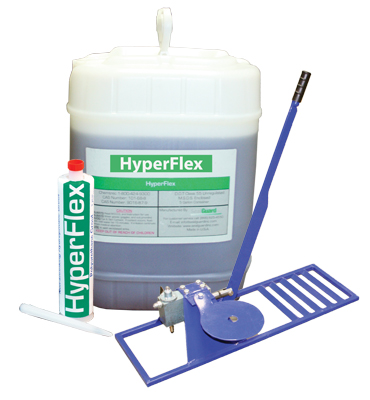
- Supplied in 18.9 litre barrels or a 300ml tube
- Non-shrinking and highly expansive (20:1 expansion ratio)
- Flexibility accommodates movement while maintaining seal
- Resealable / re-usable
- Has US approval NSF 61-2007, for contact with potable water
Application is simple…
- Inspect and remove all debris
- Drill 10mm hole to intersect crack/joint
- Insert tip into hole
- Pump in Hyperflex
Easy, 4-step instructions;
Step 1; Using a 12mm masonry bit, drill at a 45° angle to intersect the leakpath about halfway through the thickness of the substrate. For example, a 15cm thick precast wall should be drilled so the leak path is intersected about 7.5cm back. Drill every 30-45cm along the length of the leaking area. TIP: For uniform cracks such as cold joints, holes may all be drilled from the same angle. For non-uniform cracks, drill just on one side of the crack and then the other, to ensure the leak path is intersected.
Step 2; Flush hole and crack with water to flush out debris. Attach 1.25cm nozzle to Hyperflex grout tube and push firmly into the pre-drilled holes.
Step 3; Pump gun to inject Hyperflex. Cease pumping when you get a show of material coming out of the leaking area. Move to the next hole and repeat. TIP: If it appears the Hyperflex is washing out of the crack prior to reacting, pack the void by using burlap or a similar material, pushing it into the crack using a putty knife or a screwdriver. This will keep the Hyperflex back in the crack system and give it time to react.
Step 4; After material is fully reacted, either break or cut the nozzle ends flush to the substrate. Material will react out through the nozzle. This is normal.